File this recipe under, "Weeknight Meals in Under 15 Minutes"
While you're at it, you should also file it under, "Ridiculously Easy"
And you might as well put it in the, "Good Uses For Leftover Chicken", "Insanely Delicious" and "Family Favorites" folders, too.
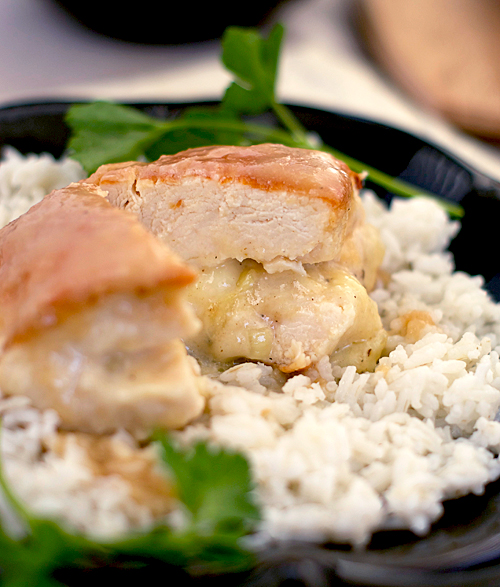
You don't have to do all that filing right now. I'm just trying to save you some time, since it's bound to happen eventually. This is one of those great recipes that comes together quickly, tastes delicious, and doesn't even dirty many dishes - i.e. this recipe is destined to be made regularly at our house. Cooked chicken pieces are mixed with a flavorful sour cream sauce, loaded onto a tortilla topped with cheese, and baked in a skillet until the tortilla is crispy on the outside and the cheese is melted and gooey on the inside. It's a mix of ingredients that I wouldn't have necessarily thought would go together, but they combine for great flavor and creaminess.
All in less than 15 minutes.
I wish all meals were this good and this easy.
While you're at it, you should also file it under, "Ridiculously Easy"
And you might as well put it in the, "Good Uses For Leftover Chicken", "Insanely Delicious" and "Family Favorites" folders, too.
You don't have to do all that filing right now. I'm just trying to save you some time, since it's bound to happen eventually. This is one of those great recipes that comes together quickly, tastes delicious, and doesn't even dirty many dishes - i.e. this recipe is destined to be made regularly at our house. Cooked chicken pieces are mixed with a flavorful sour cream sauce, loaded onto a tortilla topped with cheese, and baked in a skillet until the tortilla is crispy on the outside and the cheese is melted and gooey on the inside. It's a mix of ingredients that I wouldn't have necessarily thought would go together, but they combine for great flavor and creaminess.
All in less than 15 minutes.
I wish all meals were this good and this easy.

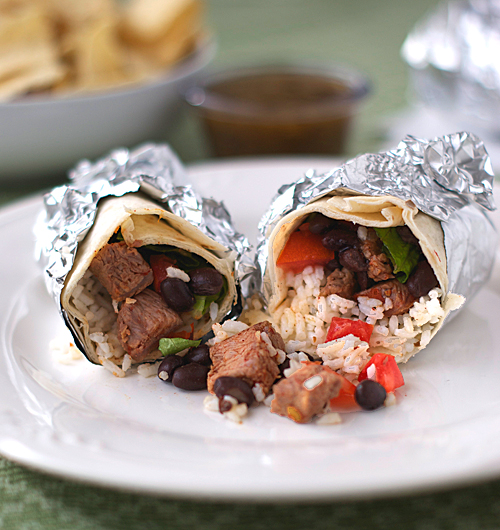
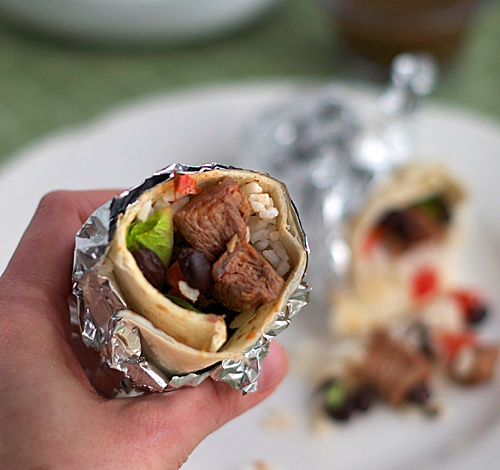
Crispy Chicken Wraps
Ingredients
- 1/3 cup mayonnaise, light or regular
- 1/4 cup chopped fresh cilantro
- 3 green onions, sliced very thin
- 2 tablespoons sour cream, light or regular
- 2 teaspoons hot sauce (this does not make them spicy but adds great flavor)
- 1 rotisserie chicken, skin discarded, meat shredded into bite-sized pieces (about 3 cups)
- 1 1/2 cups shredded cheddar cheese
- 6 (8-inch) flour tortillas
Directions
- Whisk the mayonnaise, cilantro, green onions, sour cream and hot sauce in a large bowl. Add chicken and toss to combine. Sprinkle 1/6 of the cheese over tortillas, leaving 1/2-inch border around edges, then arrange chicken mixture down the center of each tortilla. Roll stuffed tortillas, leaving edges open. Spray the tortillas all over with cooking spray.
- Heat a large non-stick skillet (or griddle) over medium heat for 1 minute. Arrange 2 wraps, seam-side down, (important so they don't unwrap during cooking) in pan and cook until golden brown and crisp, about 2-3 minutes per side. Transfer to a plate and repeat with remaining wraps. Serve.
Prep Time: 5 min Cook Time: 5 min Serves: 4-6